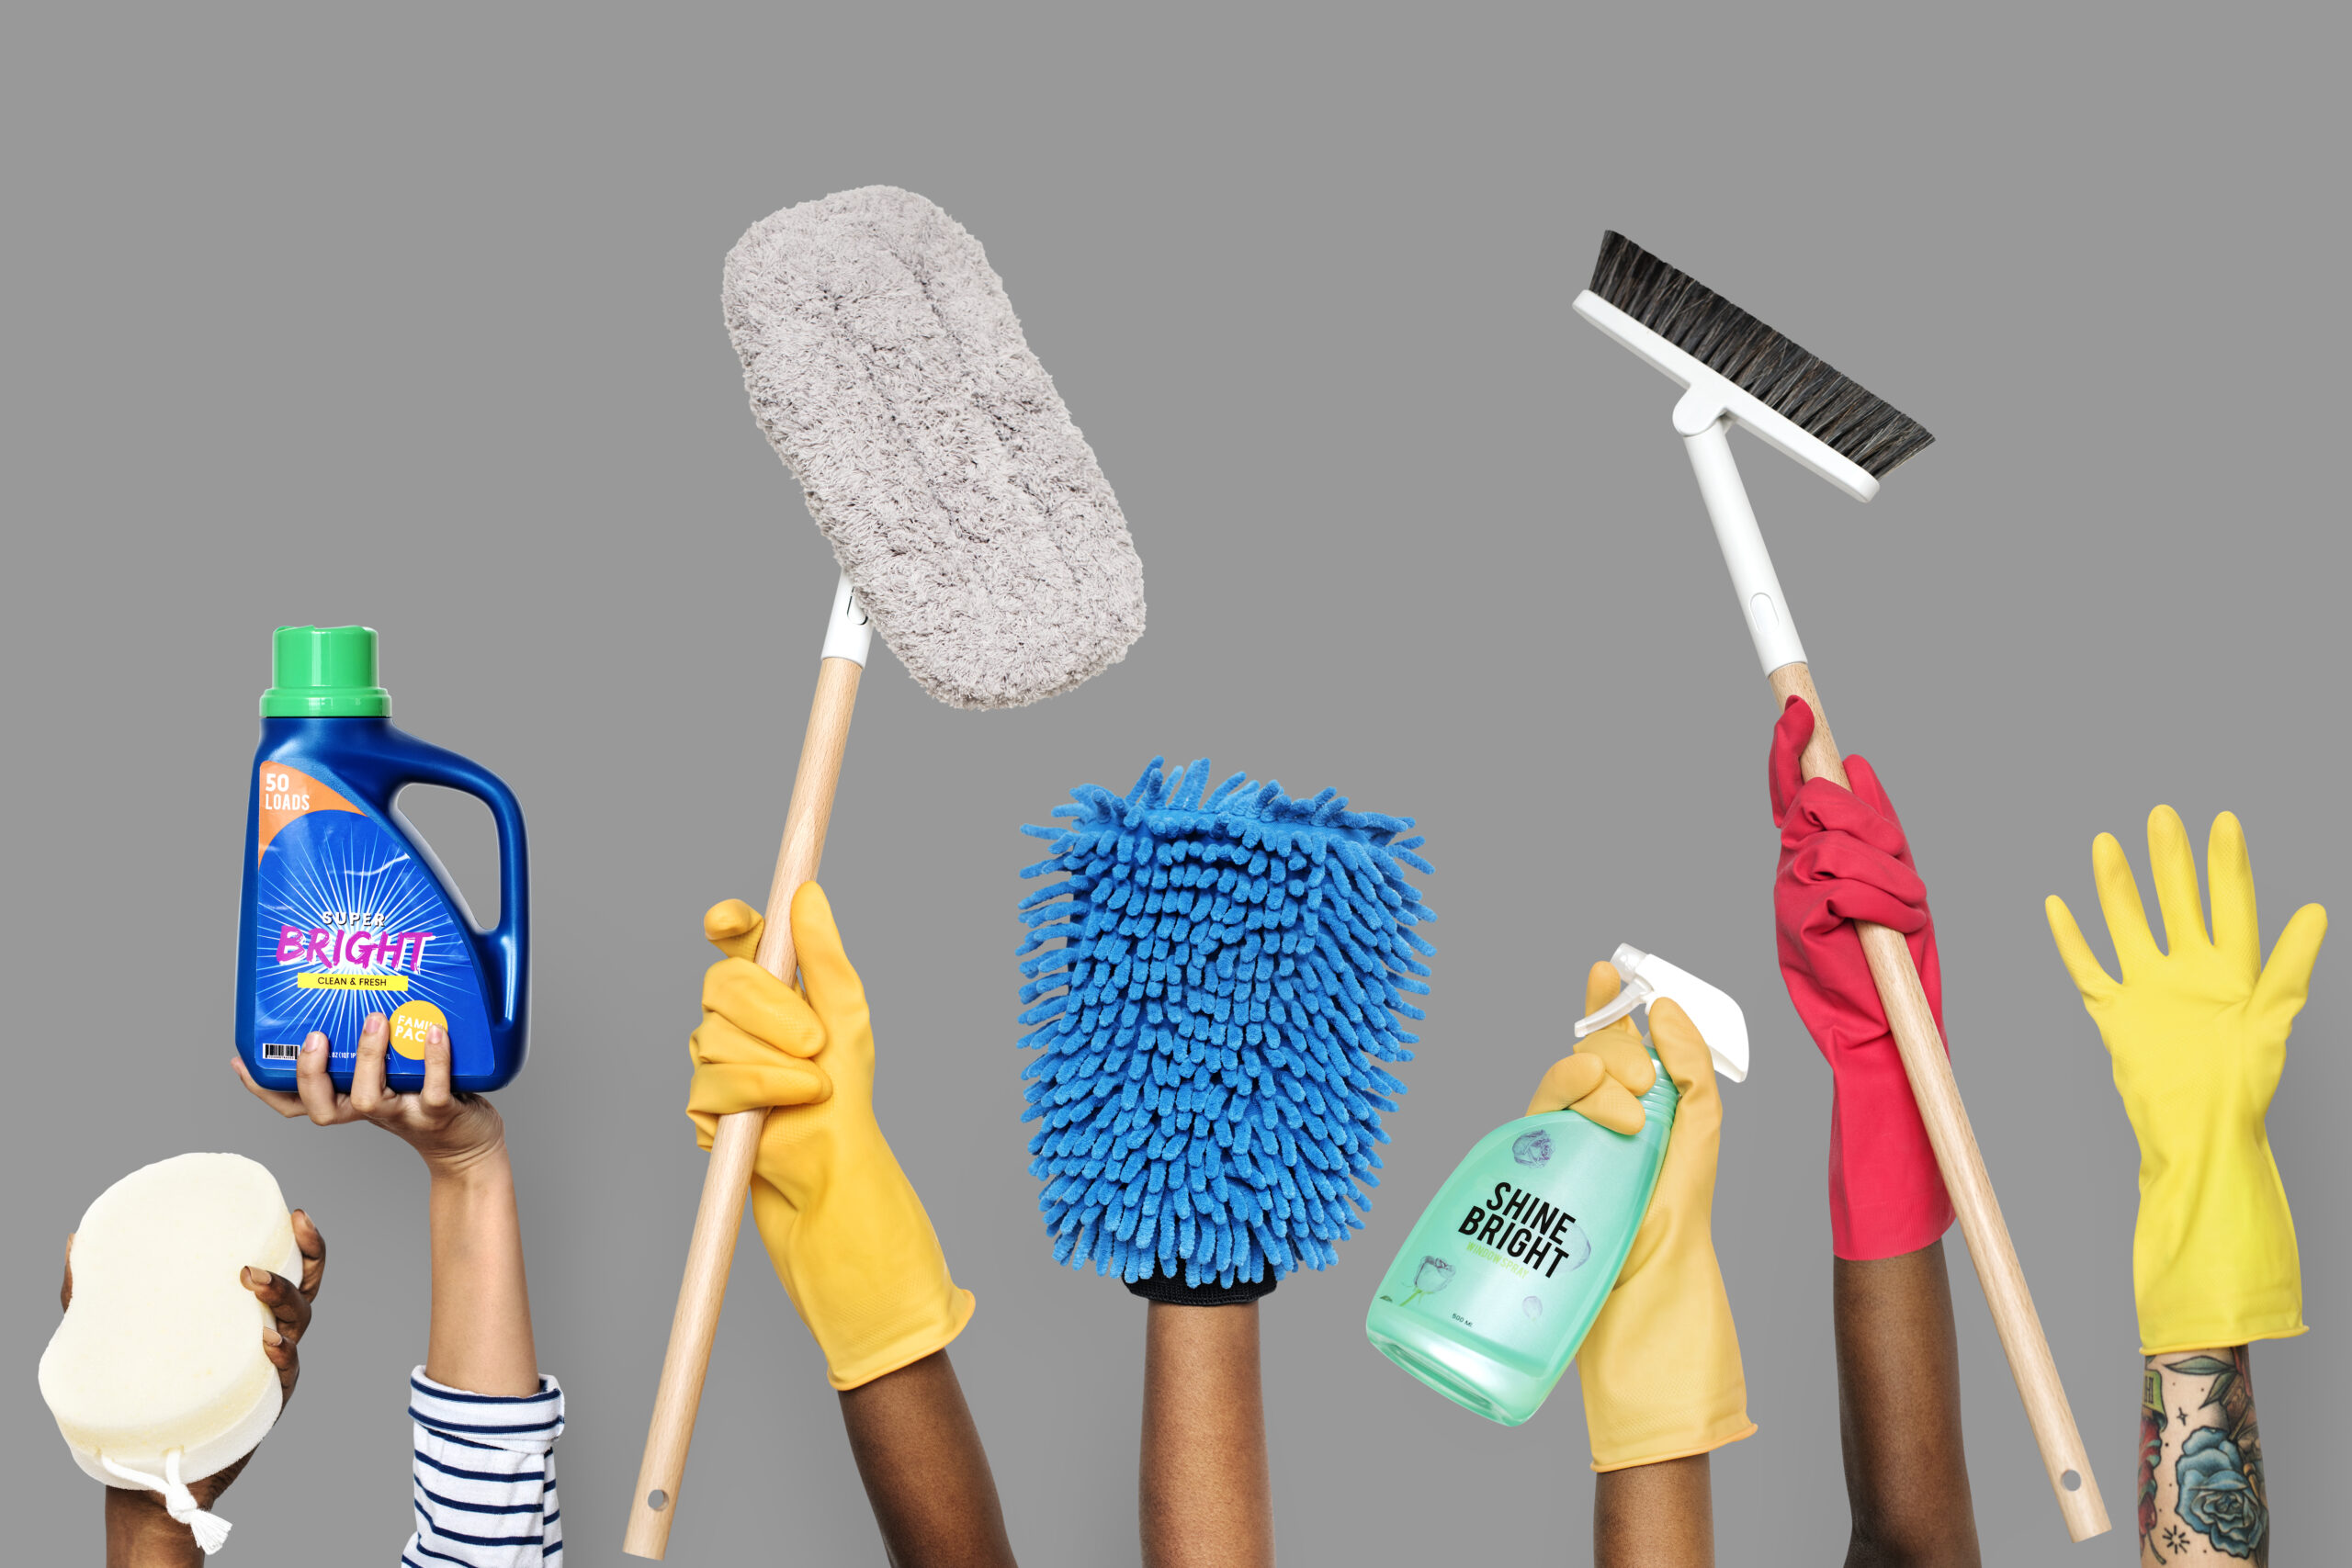
How to Clean Your Cleaning Tools
Your cleaning equipment helps you keep your home spotless, but if they’re dirty, they won’t be as effective. You may not have considered cleaning your equipment because they clean themselves, but it is worth it in the end. When not correctly cared for, your supplies might harbor bacteria, dirt, and debris.
Given this, you may be asking how to clean your tools. Perform the most of your cleaning time and effort by learning how to clean your cleaning supplies and tools in the most effective way possible!
Broom
It can get messy with all the dust and filth your broom takes up. Fortunately, bringing it to life isn’t too tricky. Bring your broom outside once a week and smack it against a wall or railing to dislodge the dust. If there is too much dirt or hair to shake off, comb the bristles or use a vacuum hose to clean them. Soak the broom in a mix of warm water and dish soap once a month. Rinse and dry the broom before using it again.
Mop
There are various types of mops, each of which requires a distinct kind of cleaning. Cleaning the mop head aids in the removal of bacteria that can build when a damp fabric or sponge is left to dry after cleaning.
You can wash it with towels on a warm cycle if you have a cotton mop with a removable mop head. To avoid getting fabric softener on the mop head, avoid using it. While drying, use high heat and the delicate cycle.
If you have a mop that does not have a replaceable head, soak it in a bucket with the same parts of water and vinegar for 30 minutes to an hour. Rinse it thoroughly and spread it out to dry.
Vacuum
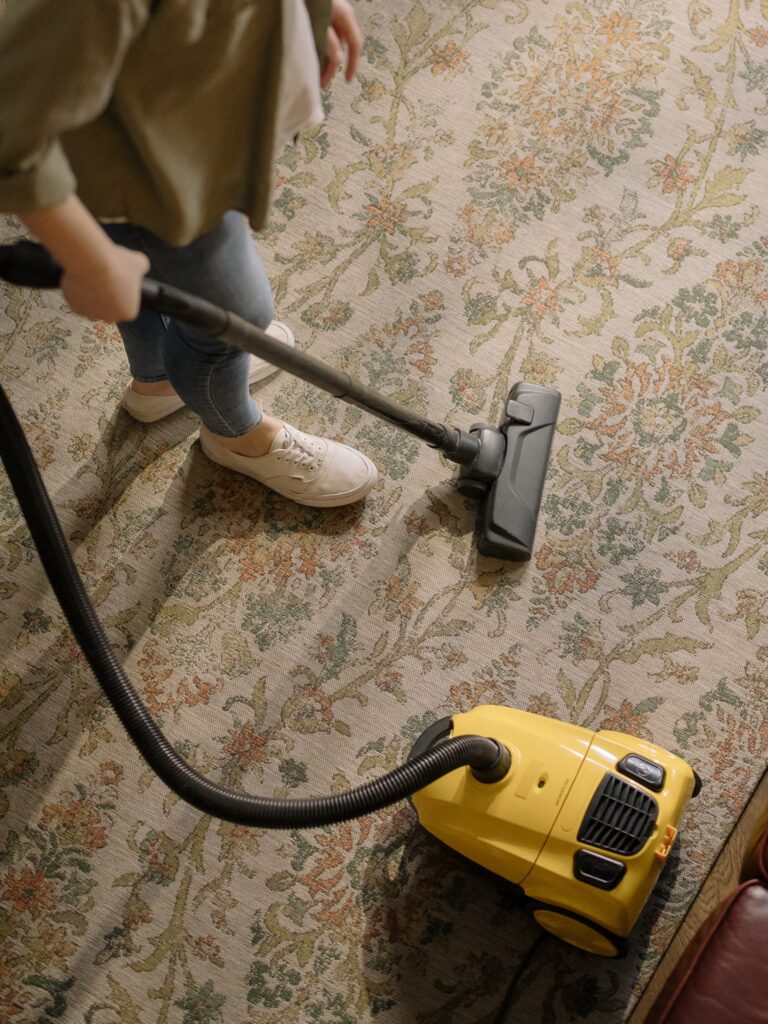
Because each vacuum type is unique, no single cleaning method will work for all. As a result, you should consult your machine’s user manual to learn how to clean the vacuum. But, no matter what model you have, there are a few things that can help:
- Empty the dirt container into the garbage can. Some vacuum cleaners use bags, while others use plastic cylinders. Clearing the dirt, in any case, keeps the vacuum from becoming clogged and losing suction.
- Look for hair or strands caught in the rotating parts of your vacuum and its attachments. Because the vacuum won’t be able to suck them up, cut them with scissors and pull them out.
- Run a clean, soft dishwasher through every opening, frequently coming out with another one.
- If a vacuum isn’t available, canned air can be used instead.
- Wash and dry outside with mild soap and water.
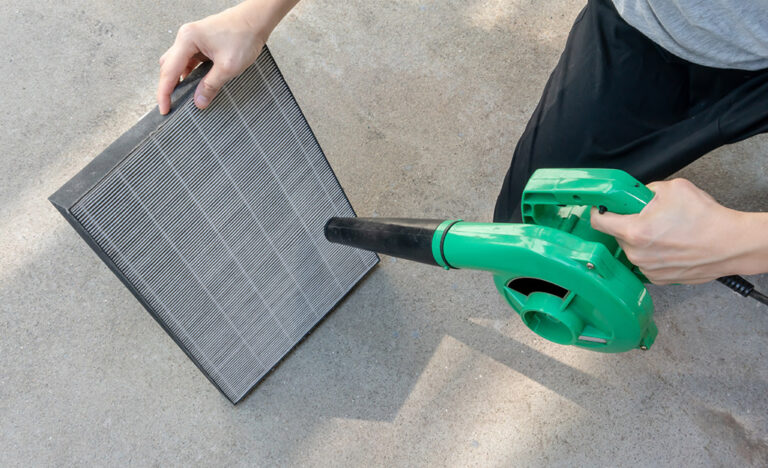
- Switch your filters around (handwash if possible, with warm soapy water)
Brushes
Scrubbing brushes are most likely to clean dishes, toilets, and showers. Whatever type of cleaning brush you have, here’s how to clean it:
- Pick out hairs and other debris stuck in the bristles using a pen.
- Fill a bucket halfway with warm water, then add a cup of your favorite cleaning solution.
- Dissolve the powder by stirring it in.
- Place your brushes in the liquid, face down.
- Allow 30-60 minutes for them to soak.
- Allow them to air dry.
To keep your brushes clean, repeat this method once a month. Also, rinse them between applications to extend the life of the clean.
Sponges

If you’re used to tossing out dirty sponges, this will be a welcome change because you won’t have to spend money replacing them all the time. You have several alternatives for cleaning your sponges, so choose one of the following:
Dishwasher
Those lucky renters who have dishwashers can use them to disinfect cleaning items. Simply place your sponges into the silverware rack and turn on the sanitation mode. If you run it regularly, you will get a clean sponge.
Immerse in cleaning solution
As with your brushes, you might soak your sponge in a solution of water and cleaning solution or bleach. When you’re through, wring it out.
Microwave
Your microwave can not only cook but can also clean. To remove food stains, first, rinse the sponge with water. The sponge should then be placed in a water dish and microwaved for three minutes. Remove the sponge with tongs (hot) and rinse with cold water. Use this procedure with caution if your sponge contains metal or foil pieces, as they might cause damage to your microwave.
Even if you clean regularly, you need to replace your sponges after a while. When the scrubby side of the sponge wears out or the sponge falls apart, it’s time to replace it.
Dishcloths and cloths
To remove deep stains, wash regular clothes in the washing machine with baking soda. Wash them separately from clothing or other valuables, as dirt and filth from previous use might rub off on other textiles.
If you have grease stains on your rags, try washing them in a can of coke. Simply add a whole can to your washing machine, along with laundry detergent, and run it on the heavy-duty cycle. Cola’s phosphoric acid dissolves grease.
Cloth made of microfiber
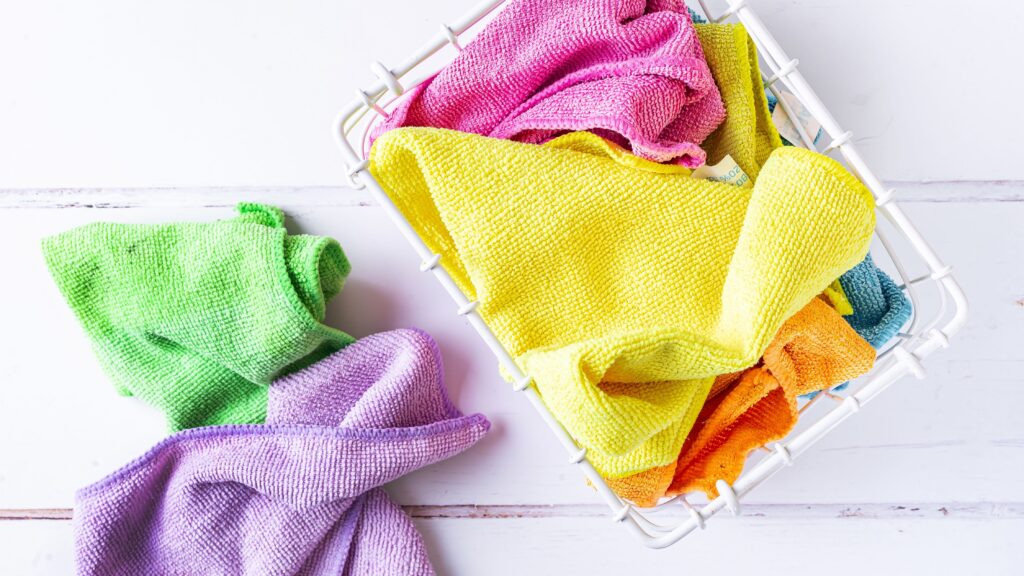
If you have a microfiber cloth, you often use it for simple cleaning glass, mirrors, or dusting. They should not be used for particularly filthy tasks. Why? Because the methods you have to use to clean them will not cut through the filth.
These cleaning products use static charge to attract particles, and you want to keep the charge. Rinse in the sink while cleaning with your hands, then place in a delicates bag. Place the bag alone in the washing machine (no other garments) and add a small amount of detergent. Avoid fabric softeners, which reduce static electricity. When the bag is clean, place it in the dryer without a sheet to help the cloth keep its static charge.
Dusters
A good smack is all that a feather or wool duster needs. Take it outdoor and shake it or hit it against a wall or railing (as if it were a broom) to loosen the dust. Make sure you’re out, or you’ll fill the room with dust, which you’ll have to clear with the duster, putting you back where you started.
If a simple shake isn’t enough, immerse it in warm water with a few drops of dish soap. Swirl it around, rinse it, and hang it to dry. When it’s dry, fluff it up carefully, being careful not to rip anything. Cleaning your duster frequently will not only prevent spreading that old dust around, but it will help keep your duster in good condition.
Toilet brush
The toilet is one of the dirtiest locations in your home, so the toilet brush should be sanitized regularly. To clean your toilet brush, soak it in a solution of 2 cups white vinegar, 1 tablespoon borax, and 12 teaspoon dish soap. Allow the brush to soak for at least 30 minutes before adequately rinsing it.
Replace the brush every four to six months and clean it every time you clean the toilet.
Cleaning bucket
Always begin a cleaning task with a clean bucket. Then, after you’ve finished cleaning, rinse the bucket with hot water. Fill at least one gallon of boiling water into the bucket. According to package guidelines, add chlorine bleach, pine oil, or phenolic disinfectant (Lysol). Swish the solution throughout the inside of the bucket and dispose of it properly.
Laundry machine
Your large appliances should also be cleaned. Don’t overlook them simply because they’re stationary and mix with the furnishings. Run one cycle of warm water mixed with a quart of bleach in the washing machine (with no garments!). If you don’t have bleach or don’t want to use it, a quart of white vinegar will suffice.
Dishwasher
Your dishwasher, like your washing machine, requires regular cleaning.
First, you must unclog the drain. There’s probably food residue in there, but bones, bits of plastic or glass, and other detritus can sneak in there and cause problems. Take anything you discover in there and throw it away.
Get a large cup or bowl once you’ve cleaned the drain (dishwasher safe, obviously). Place it on the top rack and fill it with white vinegar. Run a cycle on the highest temperature setting with nothing else in the dishwasher.
One last tip…Hang-Up S-Hook
When you’re finished cleaning the house, make sure your cleaning tools have a location to keep clean and organized. Buy a pack of S-hooks from a home improvement store and convert wire shelving into a cleaning equipment rack. Then you’re done!
Taking care of your cleaning products will make them last longer and allow you to clean your home better.