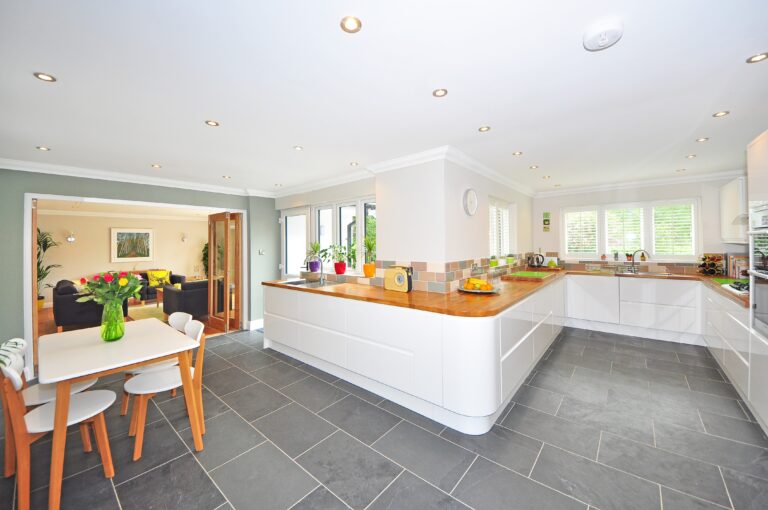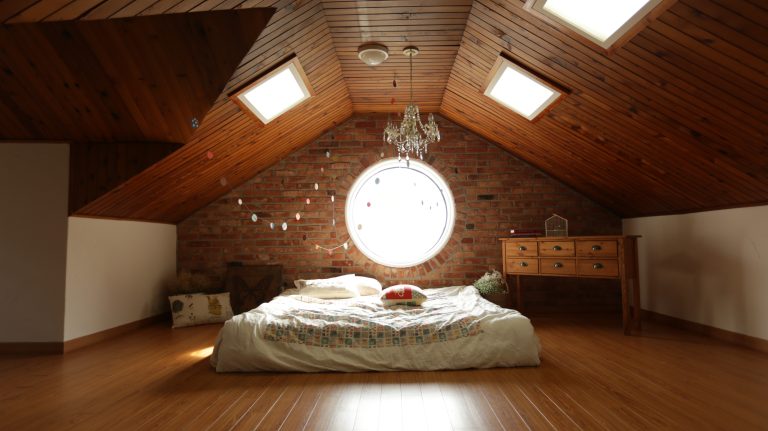
11 Tried-and-True Ideas to Care for Hardwood Floors
Our floors will, by design, be subjected to the most abuse of all our fixtures. Despite your best efforts, accidents happen. Wood floors require extra care to keep them looking nice.
So, learning how to clean and care for them properly is critical. Pet stains and harsh cleaners can damage the boards. Don’t even mention move day—misplaced furniture causes a lot of damage to hardwood floors.
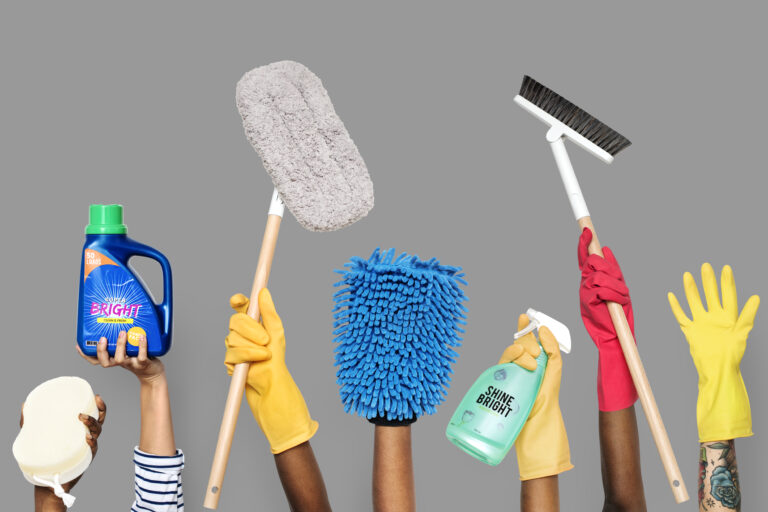
Regular maintenance is essential. Vacuum regularly with your vacuum’s hardwood attachments to keep your wood floors clean. Keeping excess dust and dirt out will help. Then use a damp mop or rag with the mildest cleaning solution recommended for your floor type.
Water is the enemy of wood floors. Make sure any moisture you apply is completely dried. But cleaning wood floors is only part of caring for them, from your shoes to your pet’s care routine.
No matter how you live, you can protect your wood floors and keep them looking great for years to come. Read on to learn more!
Select the Appropriate Vacuum
Your hardwood floors can be vacuumed. Doing so can collect dust that has accumulated between the floorboards. Select a vacuum that is suitable for use on wood floors. There is a type of choice available, ranging from a Dyson to a Roomba.
Less is more in this case
You want to use more cleanser if your floors are filthy, right? Wrong! It’s not good for them to use too harsh a product. Instead, sweep or vacuum thoroughly first. Then wipe them clean with a small amount of cleanser. Make sure you’re using a product that’s safe for your floor type by reading the labels.
Gentle cleansers
When cleaning floors, a great rule of thumb is to start with the gentlest cleaners and work your way up if you need something more powerful. For starters, use mild soap or white vinegar and water. Whatever you do, don’t throw anything on the floor right away. To clean, use a mop or a soft cloth.
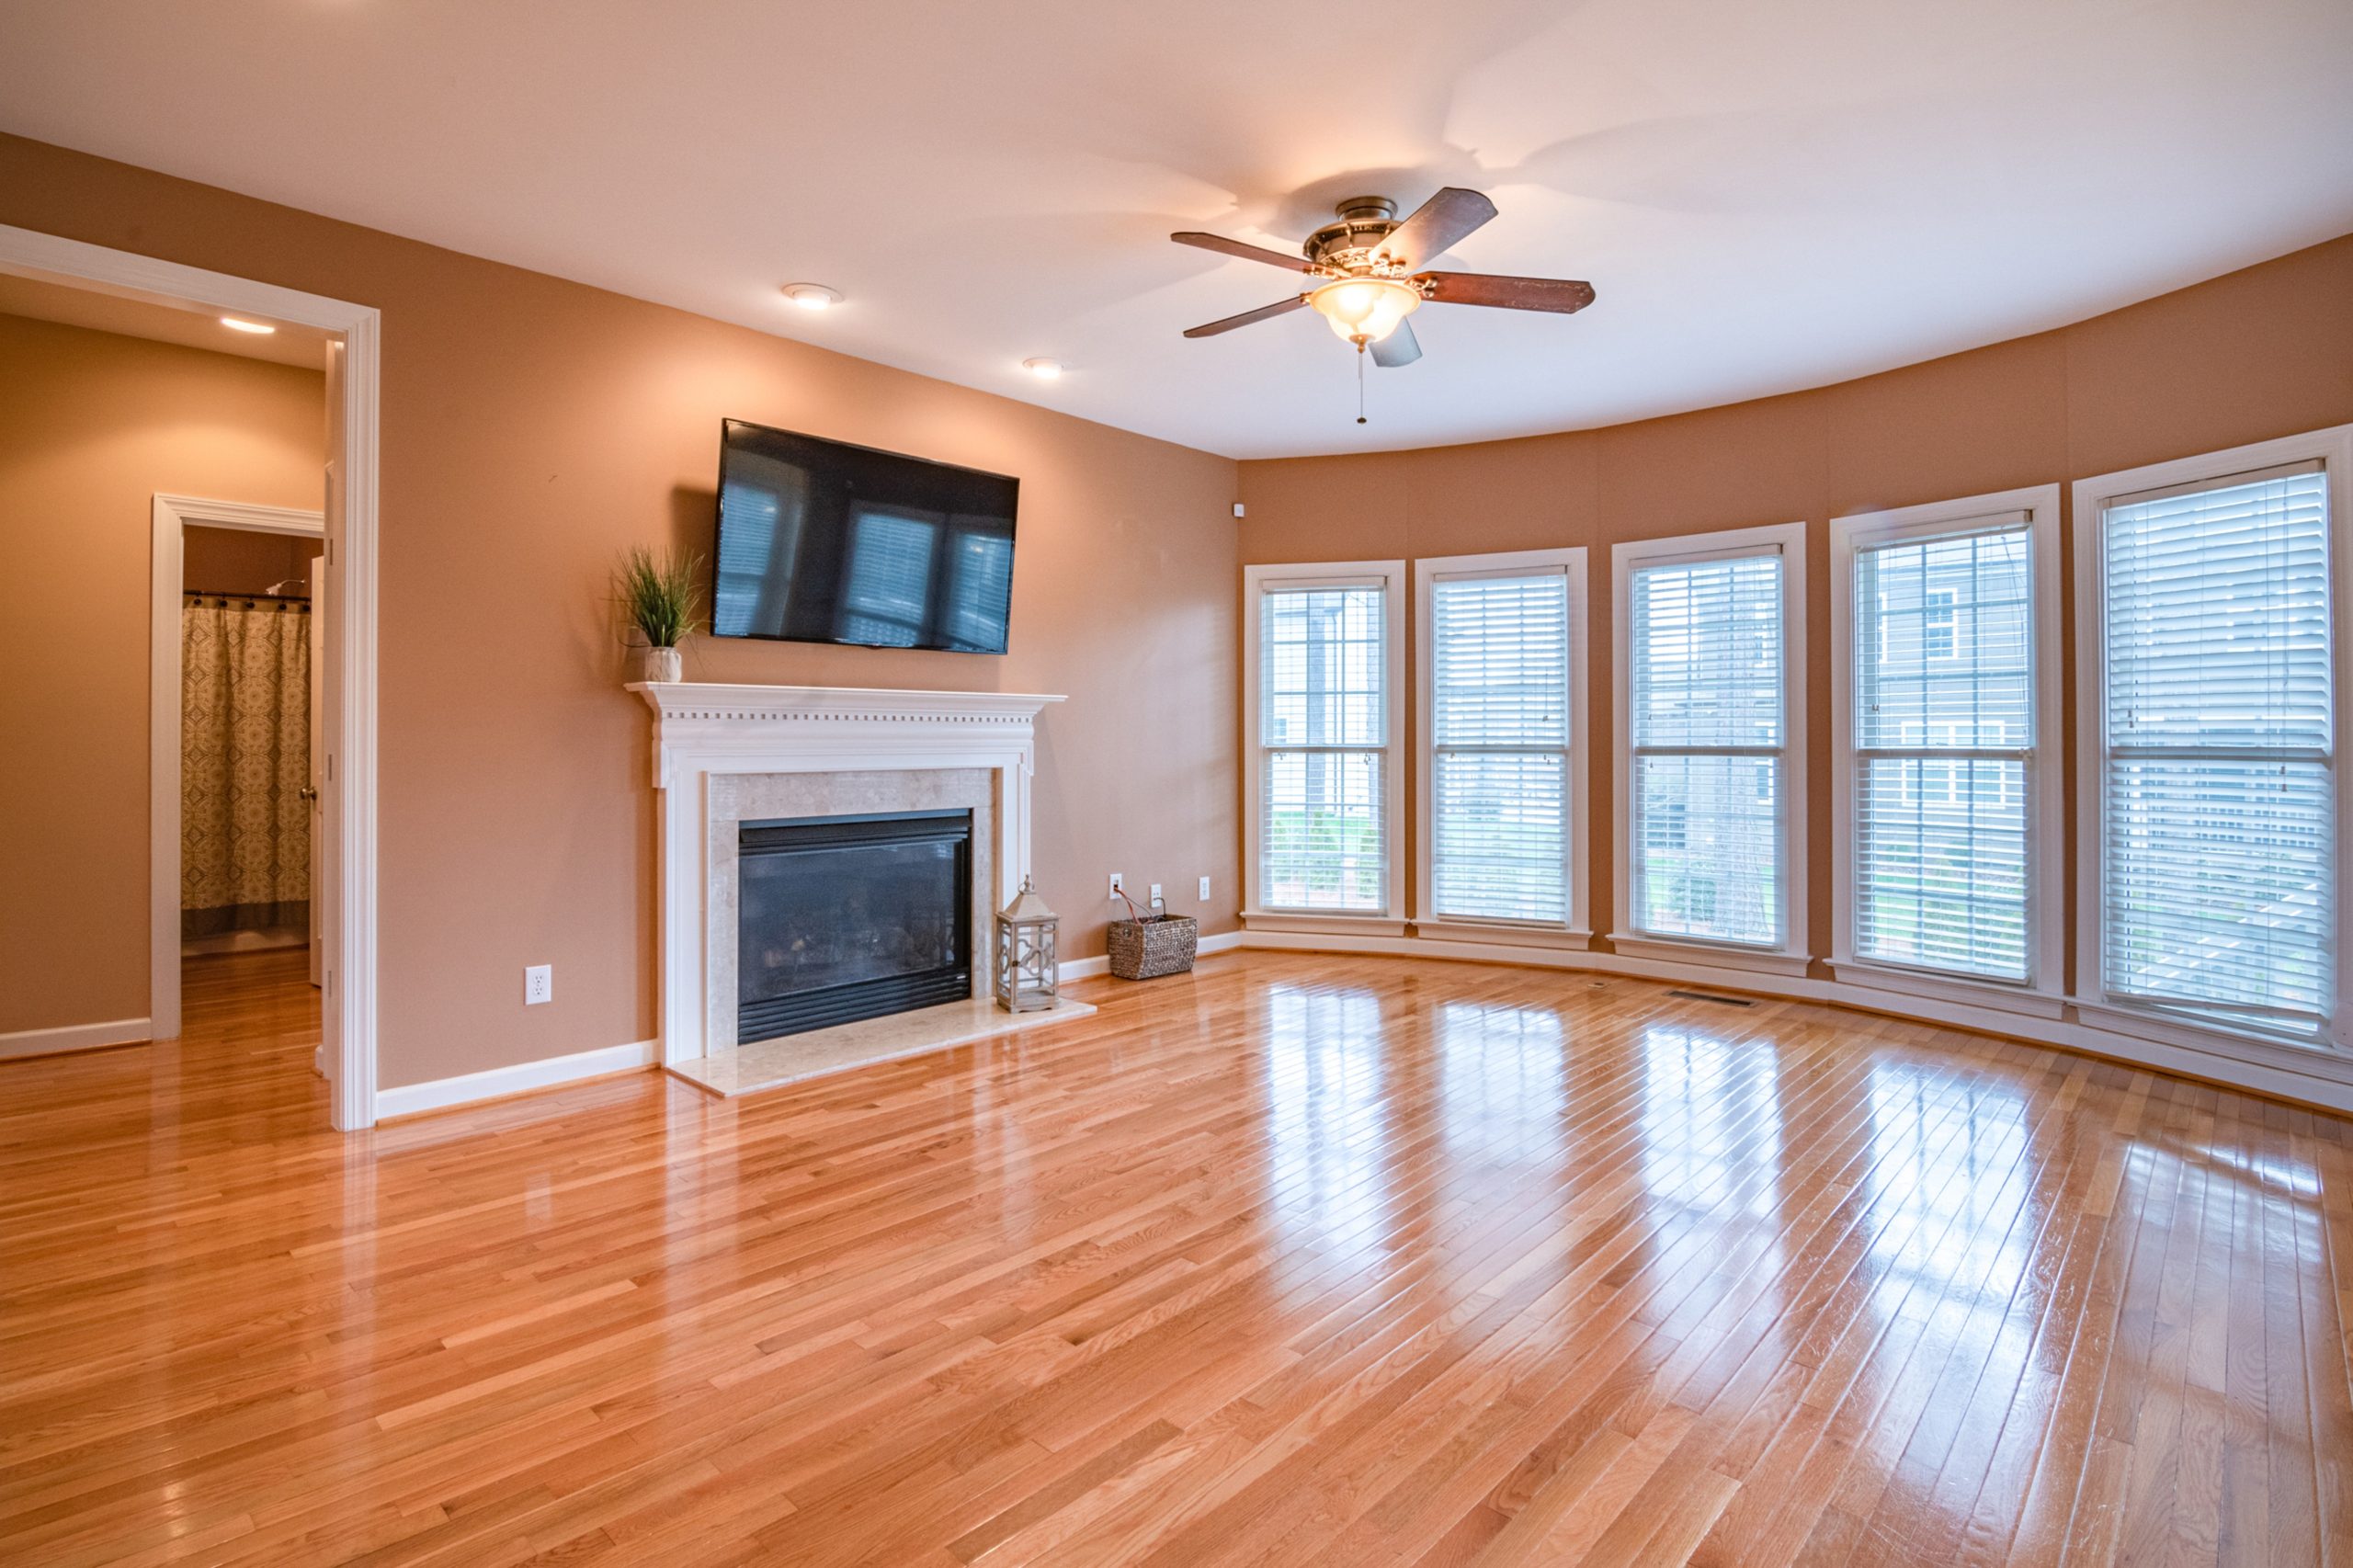
Furniture should be handled with caution
One of the quickest ways to ruin perfect floors is to move furniture. Instead of pushing or pulling, pick up bookshelves or couches when rearranging your space. If not, it’s probably time to start looking for rugs to hide those unsightly scratches.
Furniture Pads
Furniture can harm your floors even if you aren’t moving into a new place. Furniture pads on chairs or table legs can help protect your floors from scratches.
High Heels Must Be Checked at the Door
Stilettos clicking on hardwood floors are a death knell. Wear indoor-friendly flats or slippers to avoid denting your floors.
Dent Repair
A dented floorboard may require replacement, but this is a significant undertaking. A steam iron may be sufficient for more minor dents. Some finishes can discolor with steam treatment, so test the iron in a corner or a hidden location. After that, wet the area and cover it with a wet towel. Wait a few minutes after pressing the cloth with a hot iron. The heat should aid in the re-shaping of the compressed fibers.
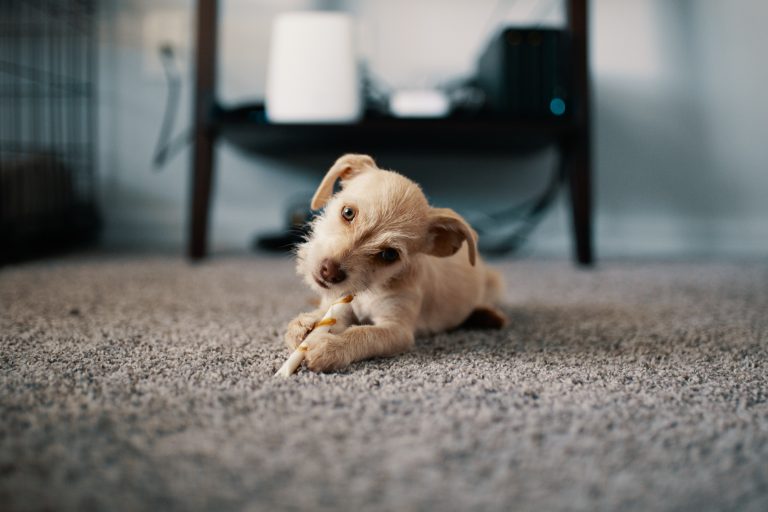
Animal Welfare
Maintaining a comfortable environment for your pets will also benefit your floors. To avoid lasting damage, keep their nails trimmed and clean up any accidental mishaps as soon as possible.
Floors with Caffeine
Give your tired hardwood floors a boost with a tea treatment. Allow cooling after boiling 5 or 6 tea bags in 5 cups of water. Apply the tea to your feet with a mop for a temporary shine that’s quicker than refinishing.
Refinishing
If you decide to refinish your floors yourself, use a random orbital sander and fine sandpaper to avoid damaging them. For an even finish, sand your floorboards as if you were mowing the lawn, row by row. When applying the stain, make sure to test it in a hidden location if the color isn’t what you expected.
Floors that squeak
If your hardwood floors are squeaking, hammering nails through the boards is unlikely to stop the noise, and it won’t look good either. Instead, inspect your floors from below. The rubbing of the joists and the subfloor could be the source of the problem. If that’s the case, use metal hold-down brackets or drywall screws to secure the two pieces together.